Hello Spring!! Supply List
Hello Spring!! Yardage Amounts
To view the
Hello Spring!! Quilt Fabric Requirements
in a pdf file
Click Here
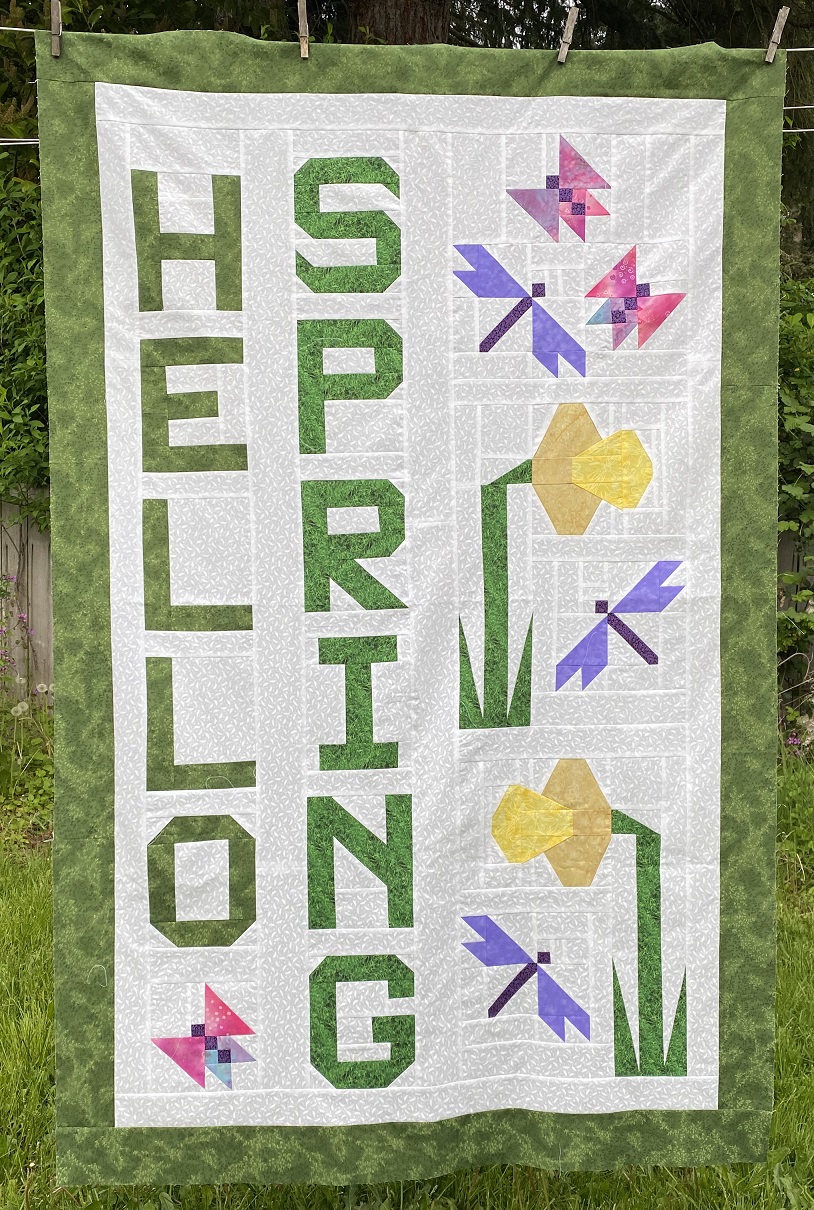
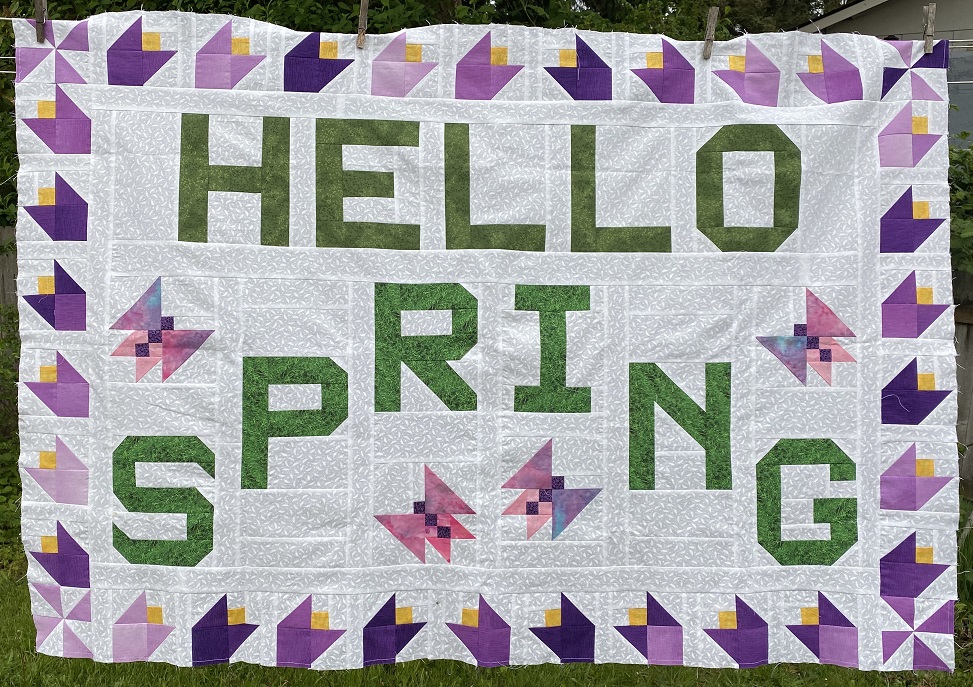
Included are the fabric requirements for BOTH the Vertical and Horizontal versions of these quilts.
Click on any photo for a larger view and slide show
Other things you will need to complete
the class project
Piecing
You will need basic sewing supplies and basic sewing/quilting skills to piece the quilt top.
A video is included on how to piece the daffodil block.
Quilting
Thread - Use whatever thread works in your quilting machine.
The quilting in the Hello Spring!! quilt is for texture. We don't want to "overwhelm" the quilt is super fancy quitting and contrasting threads.
For my class projects I am using threads that match the colors in the quilt - solid and variegated greens for the outer border, letters and leaves, yellow thread for the daffodils, white thread for the background and a variegated high sheen polyester for the butterflies and the dragonflies.
Other Items
Other items you may want to have on hand to make your quilting easier
- 6 x 24 inch quilting ruler to make straight registration lines, or any other straight edge ruler that fits the workspace of your machine
- markers - see below or Click Here
Markers
We are going to make only a few registration lines to mark the placement and boundaries of the border design.
My border fabric is dark, so I used a combination of the Chalk-o-Liner chalk dispenser and Miracle Chalk.
For information on the Chalk-o-Liner Click Here
For information on Miracle Chalk Click Here
Plexiglas for Quilting Designs
If you would like to practice your quilting before stitching, I HIGHLY RECOMMEND that you get a piece of clear Plexiglas that will fit in the workspace of your quilting machine. (Plexiglas of this size should be about $15 or less.)
Before using the Plexiglas, take either masking or duct tape (which now comes in many different colors) and place it over the cut edges of your piece of the Plexiglas. The tape serves two purposes. 1) It protects the edges of the Plexiglas. Sometimes the edges can be a little sharp and could scratch you or tear the quilt. 2) The tape will also make a boundary or edge around the Plexiglas. This will prevent you from drawing off the edge of the Plexiglas.
For a FREE video on how the Plexiglas works Click Here
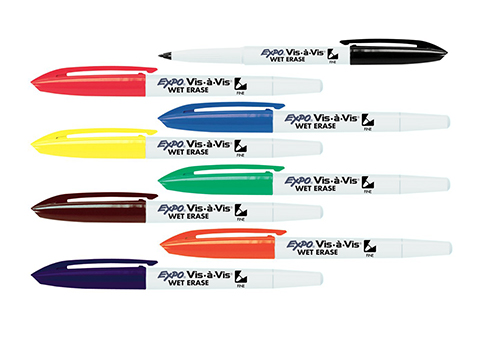
You will then use markers - I recommend the Vis-a-Vis markers, available at all "big box" office supply stores, for marking on the Plexiglas. (Note: the Vis-a-Vis markers usually have 5 in a package and cost less than $10.) The marker is removed using a damp paper towel. See below left.
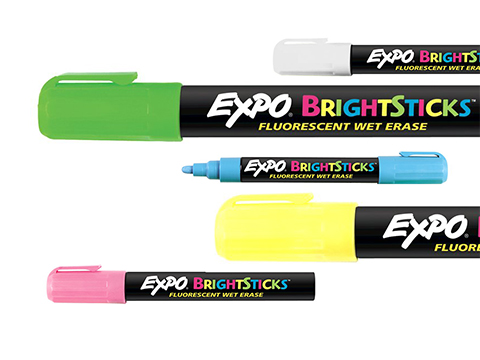
For marking on Plexiglas on top of dark fabric, I have found that the Expo Bright Markers work very well. See below right.
Both of these markers can be purchased in major office supply stores such as Staples, Office Depot, Office Max, etc. They can also be purchased online.
Click on any photo for a larger view and slide show
REMEMBER this is a LEARNING project! This project does not need to be perfect. World peace does not depend on perfect piecing or quilting!!